Moving with Pets By Joe Szabo, Scottsdale Real Estate Team
-
Keep a routine, even when it’s hard
Every day, Reggie eats breakfast at the same time, goes for a walk at the same time, and eats dinner at the same time. While that may sound boring to us, to her, it’s how she navigates and makes sense of her day. Variations happen, but she can always rely on a pretty set schedule. And when it comes to adjusting to a new home, it’s more important than ever to keep the routine going. When moving with a dog, do your best to stay on schedule, even if it means stopping in the middle of a task when you’re on a roll. The more you can stick to your dog’s usual routine when you’re settling in, the better they will be able to adjust to the all of the changes taking place. -
Help them let out energy
You know the saying: a tired dog is a good dog. Too much energy can equal heightened levels of stress, so exercise is critical for keeping anxiety down and just generally keeping your dog calm during the adjustment process. Add in an extra game of fetch in the backyard, or make your normal walk longer than usual (which should be easy, since you’ll have new streets to explore). The more energy you can help your dog to let out, the easier the transition will be for them. -
Pack a pet essentials bag
Along with packing your own essentials bag of items you know you’ll need easy access to within the first few days of moving, be sure to also pack an essentials bag for your dog. This way, you’ll know exactly where to look for food and water bowls, toys, treats, and anything else pet-specific when you move in. You’ll be glad to have these things on hand, especially in light of the next tip. -
Set up your dog’s space right away
The first thing I do when the movers have left is set up a corner with Reggie’s bed, blankets, toys, and a bowl of fresh water. Right away, she has a nook with familiar and comforting smells and items that she can retreat to; items that, no matter where they are, make her think of home. This doesn’t have to be the place you intend to keep these things indefinitely, but even a temporary corner will go a long way toward easing stress and keeping your pup comfy. -
Give lots of attention
Moving is hectic and time consuming when you’re the human in the household, but don’t forget that your dog needs some extra TLC to get through it. Be generous with affection and encouraging words, and steal a few moments for quiet, quality time together in between other tasks. Taking a couple minutes to toss around a favorite toy or to give out belly rubs assures your dog that everything is okay and that, while you may be running around, they are still a main priority. -
Try an anti-anxiety aid
If your dog is particularly prone to anxiety, moving is likely to exacerbate it. For serious situations, talk to your vet at least a month before your move and make arrangements for a prescription anxiety medication. There are also plenty of other options, including calming aids, zen collars, and even music that is proven to reduce stress in animals. With Reggie, I rely on CBD treats to take the edge off if I notice she’s anxious while adjusting to a new space. Pay attention to your dog’s state of mind to determine whether or not they might benefit from a bit of anti-anxiety support. -
Stay home as much as you can the first few days
It will take a little while for your dog to figure out that this is their new home and that it’s a safe place to be. In the meantime, do your best to stick by their side, even if it means turning down some plans or taking a couple days off of work. Ideally, your dog shouldn’t be left alone in the new home for more than a few minutes the first three or four days, which gives them time to acclimate with their security (you) right there. If you absolutely need to run out, see if you can take them with you or if a trusted friend or family member can come hang out with them while you’re gone. When the time comes to start leaving them, do it gradually, perhaps leaving for just 10 minutes and working up from there. For the first time you leave them for a longer period of time, tire them out on a long walk before you go. -
Be patient
The very best thing you can do for your dog during the stressful period of adjusting to a new home is to be patient and compassionate. Acknowledge they’re going through something tough, and go out of your way to make it as easy for them as you can. If your dog does something out of the ordinary, like have an accident inside or bark excessively when people walk by the window, realize that it’s a reaction to stress and anxiety, and they’re doing the best they can. Follow the steps above and any negative behaviors should quickly ease.
Storage Solutions By Joe Szabo, Scottsdale Real Estate Team
Choosing a unit
Do make sure to choose a reliable storage company. When you store items, you’re placing trust in a third party to take care of your belongings. And even if you’re not planning on storing anything of major value, it’s still important that you choose a company with a proven track record of reliability. Read reviews and past customer experiences before booking a unit, and don’t choose to store your items with a sketchy seeming company just because their rates are cheaper than the competition. You can search our storage unit finder to locate a trustworthy provider in your area, or ask your friends and family for referrals. Don’t start searching at the last minute. The storage unit you ultimately choose should be based on a few key factors, including the size, price, and convenience level that makes the most sense for your situation. To make sure you’re checking off all three boxes, start your search early. If you wait too long to book, you may find that what you’re looking for isn’t available, or you may just not have enough time to do the necessary research. It’s better to start a little early and have a plan in place than start late and have to make a hurried decision. Do take an inventory of what you plan to store. This is helpful for two reasons. One, it helps you determine what size unit you’re likely going to need, and two, it helps you stay organized once everything is in there. It doesn’t have to be super detailed, just a general overview of what you intend to be keeping in the unit; for example, two dressers and six medium boxes. Based on what you inventory, you’ll be able to use a storage unit sizing guide to select the best fit for your things.Packing a unit
Do label your boxes. If you’re using self storage, chances are you don’t intend to be needing the items you’re packing up for at least a couple of months. And even if you swear you’ll be able to remember that the boxes packed in the right-hand corner contain your extra kitchen utensils or sports equipment, you’d be surprised how easy it is to forget what’s what once everything is sealed up and out of sight. Labeling your boxes makes the unpacking process much easier, and is also useful if you ever need to come in and grab something. Don’t store anything super valuable. As a general rule, if you can’t afford to lose it, you probably shouldn’t be putting it in your storage unit. A majority of the time your belongings will be just fine and there’s nothing to worry about, but self storage always come with a risk – albeit a small one – that items will get damaged or lost. To be safe, find an alternative way to house art, jewelry, family heirlooms, and other valuable items that you don’t want to take any chances with. Do pack strategically. Some of the most crucial self storage tips you’ll want to follow are those around how to pack your things, particularly if you’re using a moving container that may shift in transit. You never know if or when you’ll need to access your unit during the storage period, so organize everything in a way that makes it easy – just in case. Store items you’re more likely to need toward the front of the unit, and things you know you’ll be able to live without for a while in the back. And think vertically. Instead of crowding things across the bottom, take advantage of the unit’s height (most are at least eight feet tall) and stack your items, keeping the heavier things closer to the ground. If you can, leave a pathway from the front of the unit to the back so that no item is completely out of reach. Don’t leave items unprotected. Prevent items from getting damaged by taking the time to properly pack and wrap them. Furniture should be covered with blankets or moving pads (not plastic, which can trap moisture, resulting in mildew and mold), and anything small should be boxed up. Fragile items should be carefully wrapped in packing paper, and stored in a way that they can’t move around. Do purchase insurance. Check to see if your renters or homeowners insurance covers personal property in storage. If it doesn’t already, you may be able to add it on or purchase a separate storage insurance plan through the insurance company or the storage company. It’s good peace of mind to have extra protection just in case, especially since if you didn’t care about the items in your unit, you probably wouldn’t be going through the trouble of storing them in the first place. Don’t store anything perishable. Be careful not to pack anything in your unit that could spoil. In addition to leading to bad odors, rotting food and plants could attract bugs and rodents, and you definitely don’t want to happen upon either of those when you open your unit. Do ask for help, if you need it. Moving things into storage is still a move, and it can be difficult to tackle all on your own. Ask a friend or family member for help, especially if you’re going to be loading heavy items or stacking things up high. Having an extra set of hands will help the process go smoother and faster, and will reduce the risk of injury when lifting furniture or other heavy things.General self-storage advice
Don’t share your key or access code. Be wise about who you share access to your unit with. Always use your best judgment, and never allow someone into your unit unless you already know that you trust them around your belongings. Storage units – or more specifically, the items within them – have a lot of value for people with bad intentions. Unless it’s a person you know and trust, you shouldn’t be letting anyone in. Do purchase a strong lock. In the same vein as the advice above, be smart when it comes to securing your unit. If you’re working with a storage company that requires you to supply your own lock, spend a little bit of extra money to get a sturdy lock that can’t be easily tampered with. Even storage facilities with cameras and on-site staff can’t completely prevent something from happening, so rest easy by putting a lock on there that you don’t have to worry about. Always store smartly. Following these self storage tips will help ensure that you have the best storage experience possible, and that your stored belongings are kept safe and in good condition for when you’re finally ready to obtain them. You’ll be glad you took the time to do it right. Please note that this Scottsdale Real Estate Blog is for informational purposes and not intended to take the place of a licensed Scottsdale Real Estate Agent. The Szabo Group offers first class real estate services to clients in the Scottsdale Greater Phoenix Metropolitan Area in the buying and selling of Luxury homes in Arizona. Award winning Realtors and Re/MAX top producers and best real estate agent for Luxury Homes in Scottsdale, The Szabo group delivers experience, knowledge, dedication and proven results. Contact Joe Szabo at 480.688.2020, [email protected] or visit www.scottsdalerealestateteam.com to find out more about Scottsdale Homes for Sale and Estates for Sale in Scottsdale and to search the Scottsdale MLS for Scottsdale Home Listings.Styling Bar Carts: 4 Irresistible Looks By Joe Szabo, Scottsdale Real Estate Team
Vintage warmth
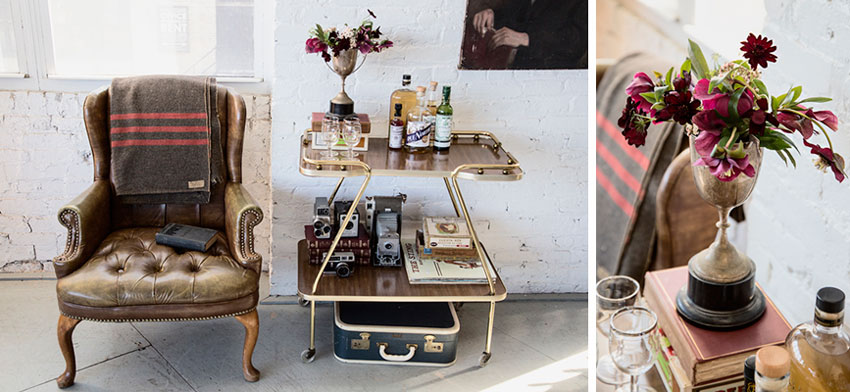
Stir together a Manhattan and cozy up with a dense classic. This wood paneled brass bar cart has tons of charm and is outfitted for the masculine nostalgist. A wondrous collection of vintage cameras, records and details bring home the stately look. Tip: Collections bring it all together. Let your bar cart pull double duty by displaying a favorite collection that showcases your personality and interests. Commit a few hours to your local flea market or online estate sales to grow or start your collection, which will spark conversations with first-time guests.Feminized industrial
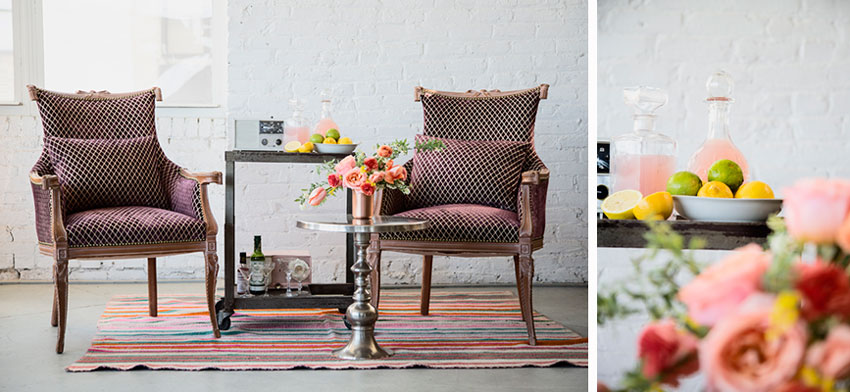
Even the most industrial cart can be sweetly styled for a small shower or birthday celebration. Stocking this petite bar cart with festive punch batched out in classic crystal decanters makes for a very dear scene. The retro radios and silver accents complete the look. Tip: Say it with flowers. A small complementary arrangement placed near your bar cart can bring the whole look together. Embrace the feminine with blush-colored garden roses and tulips to create a tea party atmosphere.Tropical punch
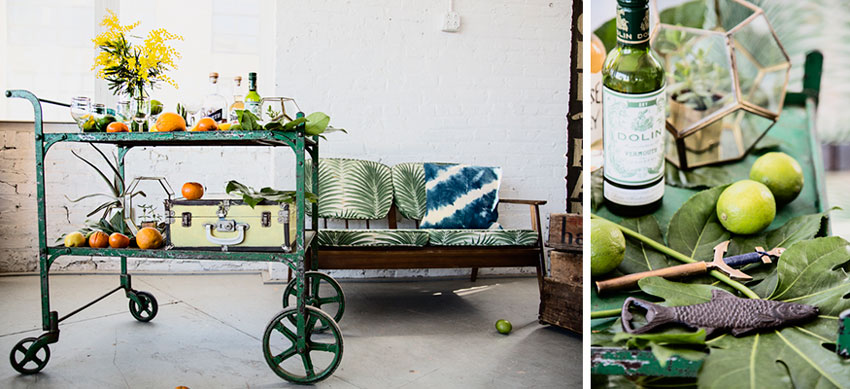
This look skips spring and dives straight into summer with palm leaves, tie dye and rum. Abundant colorful citrus not only stands in for floral centerpieces or candles, but is handy for the bar if your drink calls for a twist. Imagine this green bar cart poolside. Tip: Open in style with festive bar cart accessories. Unique bottle openers and wine keys will help your guests interact with the cart. We can’t all mix a perfect drink, but we can all open a bottle. These tools are a low-budget investment that allows your guests to feel fancy-pants without measuring a cocktail.Romance-ready
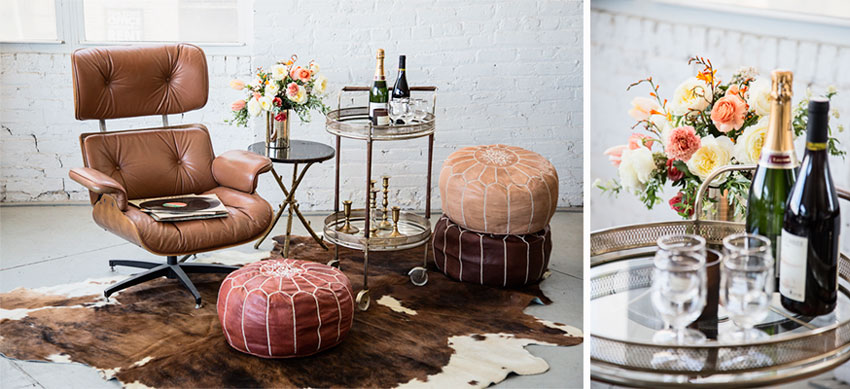
An elegant circular bar cart with warm brass candlesticks and a few bottles of wine is perfect for date night. This look creates a cozy setting for sipping a nice biodynamic wine and listening to a favorite LP on the turntable. This type of cart is incredibly versatile, and can easily be repurposed to corral perfume and toiletries in a large guest bathroom, or serve as an end table in the living room. Tip: Choose vintage stemware to replace plain-jane glasses. Antique glassware embellished with metallic accents and etched designs is plentiful and affordable. Build a mismatched set of beautiful pieces, and each guest’s glass will have its own personality — a great conversation starter. Which bar cart look are you coveting for your home? Please note that this Scottsdale Real Estate Blog is for informational purposes and not intended to take the place of a licensed Scottsdale Real Estate Agent. The Szabo Group offers first class real estate services to clients in the Scottsdale Greater Phoenix Metropolitan Area in the buying and selling of Luxury homes in Arizona. Award winning Realtors and Re/MAX top producers and best real estate agent for Luxury Homes in Scottsdale, The Szabo group delivers experience, knowledge, dedication and proven results. Contact Joe Szabo at 480.688.2020, [email protected] or visit www.scottsdalerealestateteam.com to find out more about Scottsdale Homes for Sale and Estates for Sale in Scottsdale and to search the Scottsdale MLS for Scottsdale Home Listings.Belly Up to Your Own Home Bar: Our How-to Guide By Joe Szabo, Scottsdale Real Estate Team
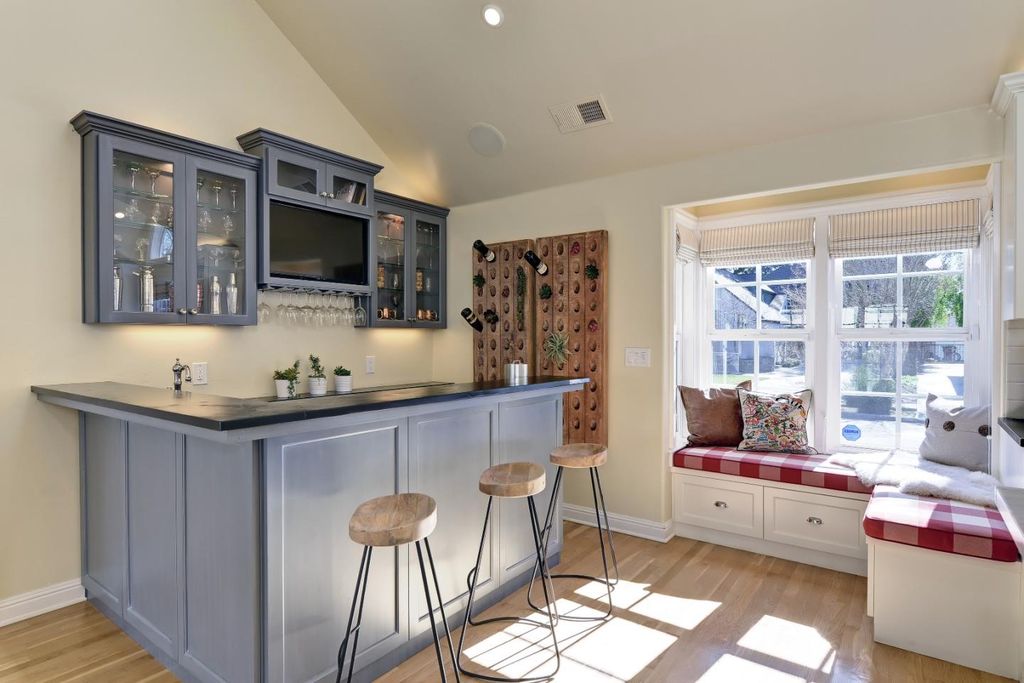
Consider the placement
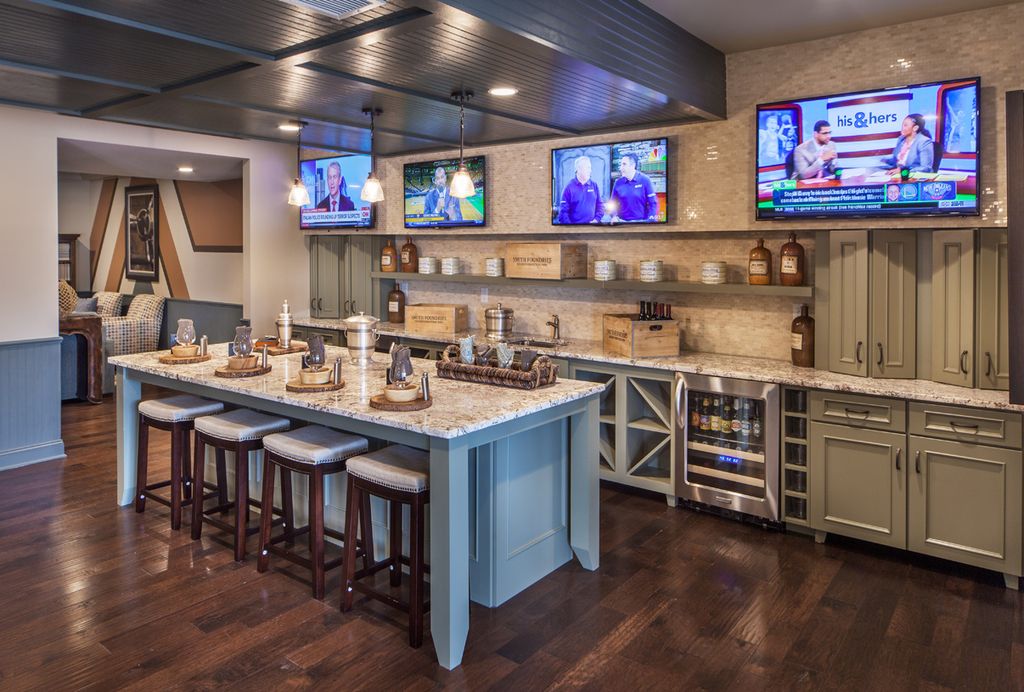
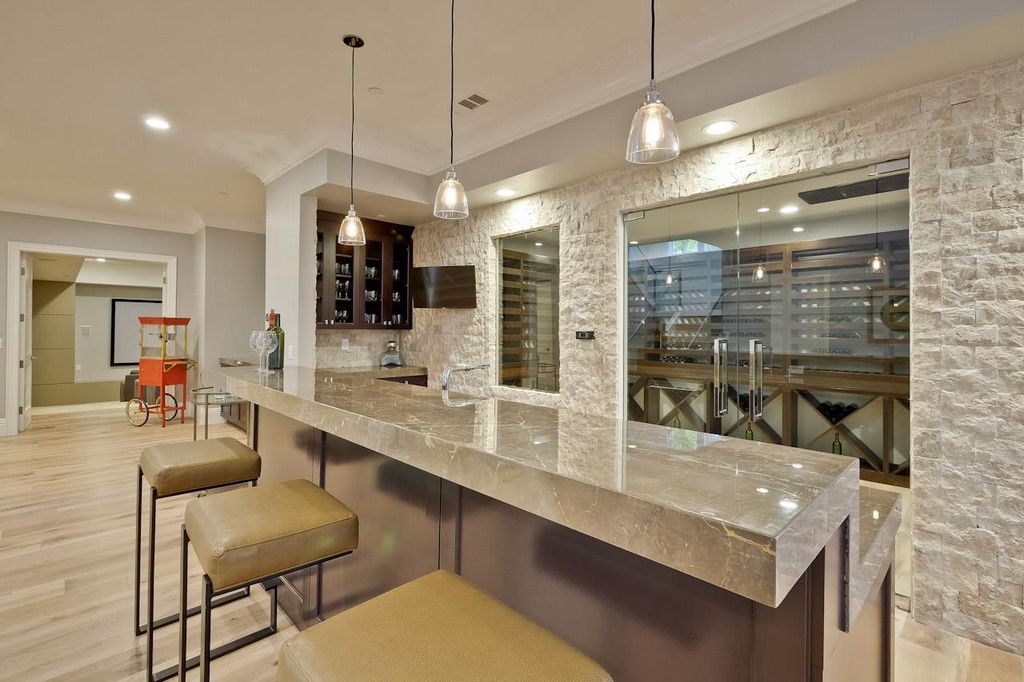
First, consider your floor plan. Determine if you have the space, and consider the rooms you entertain in. Do friends and family congregate in the living room? Or are the kitchen and dining room the social hubs? If you want to install an ice maker or sink in your wet bar, you want to build it where there’s existing plumbing — perhaps on the backside of your kitchen or near a powder room. “I say skip the sink, because it limits your counter space and makes the project more expensive,” says Richmond, VA, interior decorator Lesley Glotzl. She notes that not many homeowners use wet-bar sinks for washing hands and glassware, and the space can be put to better use. Glotzl, who has rehabbed several clients’ wet bars, suggests maximizing your counter space, and in lieu of a sink, use plumbing for an ice maker. If you are a cocktail connoisseur, an ice maker will be more useful than a sink. “What’s fun about a home bar is you can do it very affordably,” says Glotzl. She recommends building a wet bar when doing a kitchen or bath renovation, because it’s more cost-effective and an easy project to tack on when you already have someone designing cabinets and countertops.Fine-tune the details
A wet bar can be as simple as a piece of cabinetry with a countertop, upper cabinets, or shelves. If you want to get fancy, add appliances like an ice maker and refrigerator. Cabinetry below hides plumbing and tucks away bar tools, while open shelving above the bar is a fun option for showing off fancy cocktail glasses and a collection of spirits. Glotzl notes that a mirrored backsplash is worth considering, because it makes a wet-bar nook seem larger, while reflecting light back into the room. Glotzl recommends textured vinyl wallpapers by companies like Osborne & Little or Thibaut as another fun backsplash option. “The wallpapers are durable, and give the bar a little pop,” she says. Don’t be afraid to get adventurous and creative. Add drama by painting cabinetry a bright color, or add a high-gloss lacquer finish. You can make a bold statement in a small space. Hang a funky pendant light or mount two sconces to showcase your small saloon. Glotzl notes that lighting is essential, because it helps to highlight and frame the space.Get fancy
If you’re looking to up your game, you can add specialty appliances like dual-zone refrigerators. “What’s nice about ice makers, wine coolers, and beverage refrigerators is that they are a standard size,” says Glotzl. “You can just pop it into place like a cabinet.” So, no need to worry about installation — just move it into place and plug it in. For a small-scale wet bar, go straight to a kitchen design company, or coordinate it yourself by hiring a handyperson, electrician, and plumber. On the other hand, if you want to go big and turn an entire room into a bar, or create a custom wet bar with unique appliances and restaurant-grade equipment like beer and wine taps, that’s another story. For a high-end bar with modern accouterments, you’ll need to call on a company like Wallace & Hinz, which specializes in custom bars for restaurants, clubs, and residences. “When you really look at the home bar, it’s much more difficult to create than a commercial bar, because it’s usually for a smaller space, and you want as much as you can get packed into that little space,” says Tom Tellez, CEO at Wallace & Hinz. “They can be far more complicated, and there’s room for error.” For homeowners who request high-end dishwashers, refrigerators, and ice machines that all need to be tucked under the bar, Tellez recommends appliances from Perlick Corporation, because they specialize in beverage equipment like wine reserves, dual-zone refrigerators, and beer dispensers. If space is tight, Tellez says the company sometimes sources tiny appliances that are traditionally used on yachts or in motorhomes. Companies like Furrion or Westland manufacture pint-sized appliances that will save your bar some inches. “There’s the architectural side of what it looks like and feels like, then there’s how you’re going to fit everything in so that it’s seamless and operates efficiently with all your plumbing and electricity,” says Tellez. Along with the functional aspect of bars, Tellez’s company designs the look of them, too, taking into account millwork and details like shelving and foot rails.Get inspired
Rick Magnuson called on Wallace & Hinz to transform the front parlor of his Los Altos, CA, home into a bar. After living in the 1920s farmhouse for three decades and only using the parlor a handful of times, he and his wife, Amy, decided the room was wasted space. The couple wanted a place where they could spend time with friends and family, and Amy had a lightbulb moment to add a bar in their home. “We didn’t want to put a bar in the room; we wanted to make the room a bar,” Magnuson notes. The Magnusons got in touch with Tellez and requested a custom mahogany bar with carved details, shelves to display glassware and bottles, a handful of barstools, a mirrored backsplash, LED lights, a dishwasher, refrigerator, ice maker, and two beer taps that are now kegged with Sierra Nevada and Trumer Pilsner. They wanted their entire 16-by-20-foot front room to be transformed into a pub. Tellez took detailed measurements of the room and discussed its layout with the Magnusons. A CAD drawing was created, and after several back-and-forths, the Magnusons finalized the design. Tellez took two to three months to build the entire room and bar in his Blue Lake, CA, workshop, then disassembled it and drove it to the Magnusons’ home, where he installed the bar, which took around a week of 10- to 12-hour shifts. Before the bar installation, Magnuson had the parlor drywall demolished, so Tellez could install not just the bar, but custom millwork throughout the room, too, from the wainscoting to the window trim and the bar back cabinetry and shelving. The Magnusons’ home bar is now dubbed “The Wasted Space,” a nod to their unused parlor and the drinking that now happens in their transformed space.Do it yourself: How to hack the home bar
If you fancy yourself a skilled DIYer and don’t want to break the bank, consider these options: $ Bookshelf bar An existing built-in bookshelf is an easy and affordable route for creating a bar. Add cabinet doors to the bottom as a place to tuck away bar tools. Adjust shelving to create plenty of space for a tray, ice bucket, and spirits. If you feel adventurous, apply an adhesive wallpaper to the backside for a pop of color or pattern. If you need lighting, simply add Light Tape or adhesive battery-operated LED lights. Use existing shelving to display pretty glassware. And finally, style your bookshelf with any other accessories that pull your bar together. $$ Repurposed furniture bar In lieu of a bar cart, repurpose an unused console, record cabinet, or secretary desk into a bar. Bring the piece of furniture back to life with a coat of paint or a fun finish. Above the bar, add wall-mounted shelving from Restoration Hardware or CB2 to display your stockpile of spirits, along with sculptural glasses like coupes, highballs, and whiskey tumblers. $$$ Salvaged cabinetry bar Glotzl recommends salvaging a cabinet from a kitchen renovation company or a place like Habitat for Humanity ReStore. Give the cabinet a fresh coat of paint, and for a custom look, top it off with a countertop remnant from a stone company. $$$$ Cloistered bar A closet is the perfect place to tuck away a bar. Glotzl recommends removing the door and molding, along with the drywall from the doorway to the ceiling, to create a seamless notch in the room. “The problem with using the closet is, it’s going to be deep and not a standard size,” says Glotzl. For this, you need precise measurements to ensure that your cabinetry and countertops fit snuggly. From there, you can accessorize the space with bracketed shelving and a fun pendant light to illuminate your new favorite drinking spot. Please note that this Scottsdale Real Estate Blog is for informational purposes and not intended to take the place of a licensed Scottsdale Real Estate Agent. The Szabo Group offers first class real estate services to clients in the Scottsdale Greater Phoenix Metropolitan Area in the buying and selling of Luxury homes in Arizona. Award winning Realtors and Re/MAX top producers and best real estate agent for Luxury Homes in Scottsdale, The Szabo group delivers experience, knowledge, dedication and proven results. Contact Joe Szabo at 480.688.2020, [email protected] or visit www.scottsdalerealestateteam.com to find out more about Scottsdale Homes for Sale and Estates for Sale in Scottsdale and to search the Scottsdale MLS for Scottsdale Home Listings.Footprints on the Desert: Frank Lloyd Wright By Joe Szabo, Scottsdale Real Estate Team
Ways to Cozy up for Fall By Joe Szabo, Scottsdale Real Estate Team
Three Great Genius Hacks Next time Your Home is Vacuumed By Joe Szabo, Scottsdale Real Estate Team
- Add some Downy Unstoppables or other scented in-wash scent boosters to your vacuum bag. Just a few will do the trick and as the air circulates through and out the bag your room will be filled with a fresh scent.
- If your vaccum is not smelling all that great as they are apt to do over time, toss a dryer sheet into the bag or into the canaster where it cannot clog the vacuum.
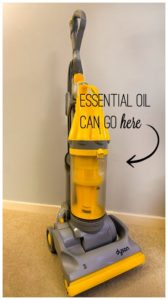
- Put a few drops of essential oil on a cotton ball and insert into the canister. Here is a great recipe for a clean citrus smelling room: 1 drop each of lemon, lime and grapefruit essential oil along with 2 drops of orange essential oil.
10 Ways to Make a Small Bathroom Look Bigger By Joe Szabo, Scottsdale Real Estate Team
1. Brighten the room
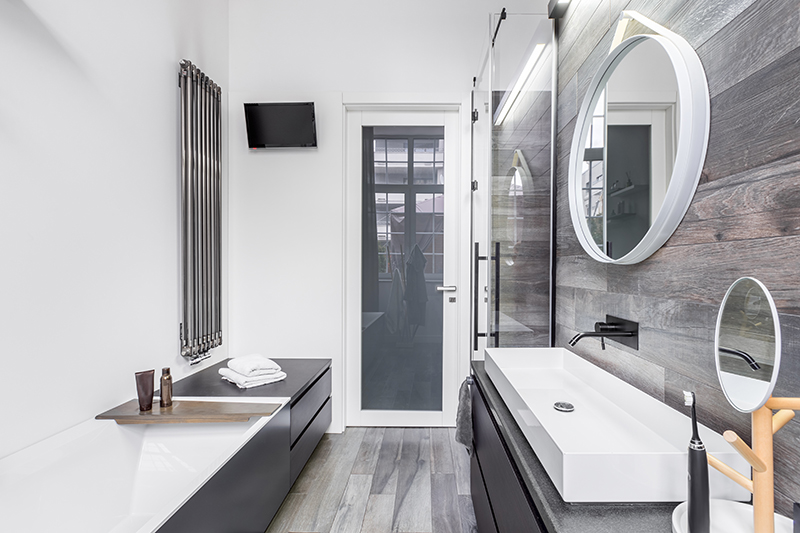
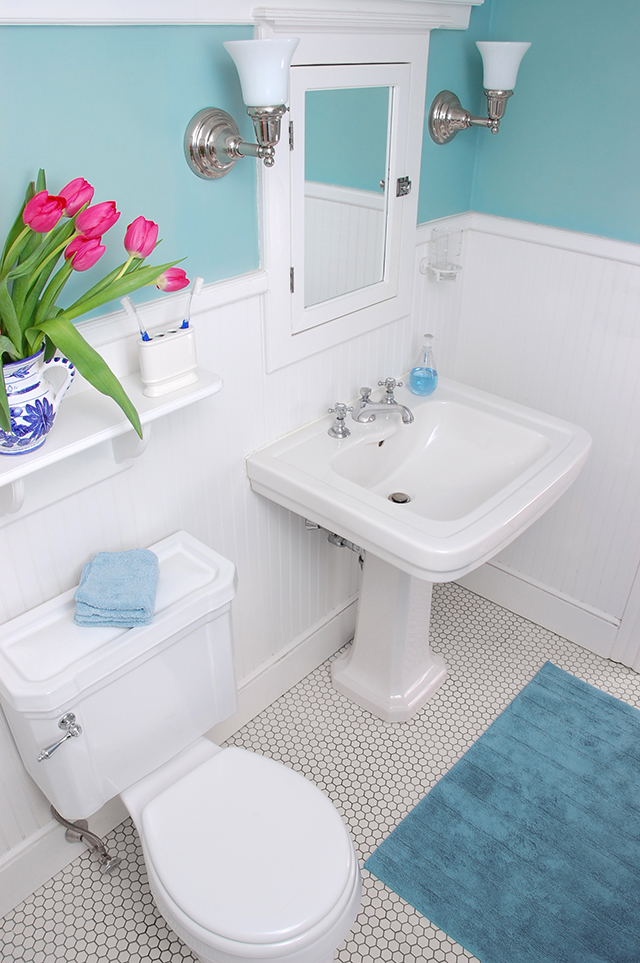
Bring in as much light as possible. Light, bright rooms always feel more spacious than dark and drab ones.- Wall color. Paint the walls and ceiling the same light color to make the bathroom feel double its size. Multiple colors chop the room into different compartments, making it seem smaller.
- Windows. If you have a window, use sheer window coverings to maximize the natural light.
- Lighting. Install additional flush-mount wall or ceiling light fixtures to increase the light in the room.