Blog
7 Simple Ways to Keep Your Kids’ Toys From Taking Over Your Home By Joe Szabo, Scottsdale Real Estate Team
By Joe Szabo, Scottsdale Real Estate Team Remember the days when you could read a decorating magazine without crying? If parenthood has made a mess out of your home and evening routine, get your sanity back with these simple tips.1. Reduce the clutter
It doesn’t matter how organized you are — a surplus of toys will always ensure your house is a mess waiting to happen. Fortunately, getting kids on board with the idea of ditching their stuff is a lot easier than it sounds. The trick is to make it an opportunity for them to define themselves and their interests. Encourage kids to make a pile of ”baby toys” to donate, and have them set aside any toys that no longer interest them, such as action figures from a forgotten TV show. Separating these toys will help them appreciate how much they’ve grown and rediscover the toys they love.2. Choose toys wisely
Since you’ll probably be stuck with them for a while, it pays to be picky when it comes to buying toys. To make toys more meaningful to your child, only buy them for holidays, special occasions and rewards — don’t shy away from asking relatives to do the same. Avoid toys that are poorly made (cheap), not age-appropriate, unnecessarily large, pointless or anything tied to a movie — unless it’s that one you’ve been playing on repeat every day. The best toys are versatile, encourage creativity and can easily be expanded upon, such as Legos, wooden train tracks and dollhouse sets.3. Leave some toys out of reach
If you’re constantly finding play dough and puzzle pieces in the sofa cushions, it’s time to put them on the top shelf of the closet. Designating these messy toys as ”family toys” will give you more quality time with your child instead of scrubbing pen marks off the curtains. Also, try to set aside a tote of toys, games and puzzles for rainy days. This ensures you’ll always have a trick up your sleeve for sick days or when a boring relative visits.4. Set boundaries
If toys are already sprawled out over every available surface of your house, don’t worry! You can quickly reclaim order in your household by setting a few ground rules, such as ”no toys in the kitchen” or setting limits on the number of toys allowed out overnight. While that might seem a bit draconian, children are generally happier when they’re given clear expectations and few surprises. That’s why it’s important to follow through and pick up every night, no matter how exhausted you feel at the time.5. Give kids ownership
Picking up toys doesn’t have to be boring. Babies, toddlers and big kids alike can have fun organizing and picking up, just as long as it’s not a negative experience. This means you should provide enough time for enjoyment without resorting to counting ”1, 2, 3” or shouting empty threats. A great thing about setting aside extra time for picking up is that you and your child can do fun things like scoop up blocks with a blanket or deliver toys across the house via tricycle. If you make it fun enough, your kid will eventually pick up without even being asked.6. Give every toy a home
Without a simple organizational system, picking up can be a major headache. Don’t throw everything into one big toybox; there’s a better way. Buy a series of matching plastic bins and line them up along the wall where your child can easily put away and retrieve toys on his own. Designate one box for Legos, one for stuffed animals, one for train tracks … you get the idea. Use stacking plastic boxes for smaller toys like matchbox cars and dolls. Organize them further by storing puzzle pieces, doll clothes and other annoyances in Ziploc bags.7. Hit the books
It’s not your imagination. That pile of storybooks by the couch really is getting taller, and if you wait much longer, it will likely turn into a giant heap. Worse yet, your kid uses those books to stall and push back bedtime a little later with each passing night. That’s why it’s important to either keep the books in your child’s room, or keep a small selection of favorites in a basket for easy Please note that this Scottsdale Real Estate Blog is for informational purposes and not intended to take the place of a licensed Scottsdale Real Estate Agent. The Szabo Group offers first class real estate services to clients in the Scottsdale Greater Phoenix Metropolitan Area in the buying and selling of Luxury homes in Arizona. Award winning Realtors and Re/MAX top producers and best real estate agent for Luxury Homes in Scottsdale, The Szabo group delivers experience, knowledge, dedication and proven results. Contact Joe Szabo at 480.688.2020, [email protected] or visit www.scottsdalerealestateteam.com to find out more about Scottsdale Homes for Sale and Estates for Sale in Scottsdale and to search the Scottsdale MLS for Scottsdale Home Listings.Repurpose Your Rope: 3 Decorative DIYs to Try By Joe Szabo, Scottsdale Real Estate Team
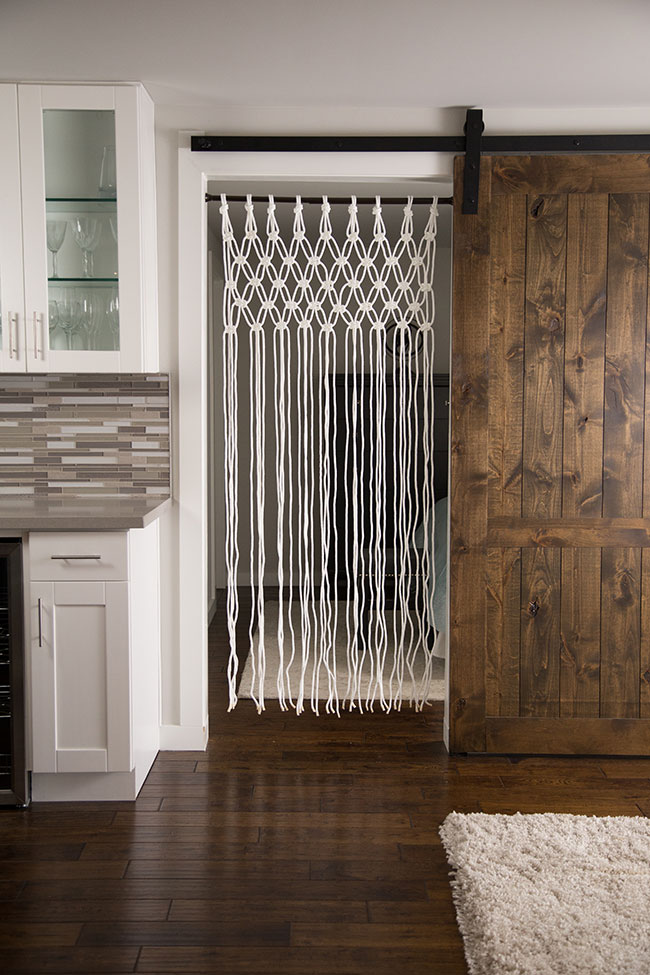
By Joe Szabo, Scottsdale Real Estate Team These projects are as beautiful as they are budget-friendly, and best of all, you can easily make them in one afternoon. Ready to learn the ropes?Macrame rope curtain
Modern, yet rustic. Warm, yet airy. And perfect for the doorway of your choosing. Supplies- Scissors
- Tension rod
- Masking tape
- 400 feet of 1/4-inch diamond braided nylon rope
- Pick a doorway for your curtain and install the tension rod.
- Cut 18 strands of rope. Each one should be 17 feet long.
- Drape two strands of rope over the rod and line up the ends so you have four even strands.
- Secure the rope to the rod with a “four-in-hand” knot. To create this knot, hold two strands of rope in each hand. Then, cross one side over the other. Next, wrap the top strands around the bottom strands. Cross and wrap those same strands one more time, then pull them up and through the loop before tightening.
- Repeat steps 3 and 4 with the remaining strands.
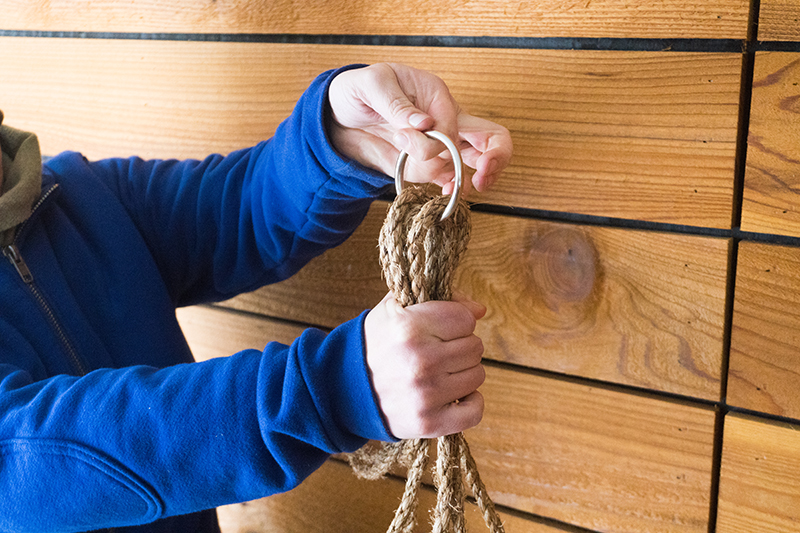
- Now the real macrame fun starts! Tie a square knot three inches below the base of the top knot. Grab the first section of hanging rope. There should be four strands to work with (one on the left, one on the right and two anchor strands in the middle). Position the strand on the left so it’s under the two anchor strands in the middle, but over the strand on the right. Then, pull the right strand over the two anchor strands in the middle and through the loop on the left. Complete your square knot by reversing the steps on the other side. Move the strand on the right under the two anchor strands and over the strand on the left. Pull the left strand over the two anchor strands and through the loop on the right. Tighten it slightly.
- Repeat step 6 on each hanging section of rope. After completing this step, every hanging section of rope should have a macrame square knot.
- Now you’ll begin to create more rows of macrame knots by braiding rope in the adjacent rows. Start three inches down from the first row of macrame knots and work left to right. Skip over the first two strands on the left, and create a square macrame knot with the last two strands on the right side of the first section and the first two strands on the left side of the second section.
- Repeat step 8 to work your way across the sections of hanging rope, creating a second row of square knots.
- Repeat step 6 to create the third row.
- Repeat step 8 to create the fourth row.
- Repeat step 6 to create the fifth row.
- To make sure the ropes don’t fray, wrap masking tape at the bottom. Cut through the tape to make the ropes even.
- Admire your handiwork!
Rope basket
It’s just like that basket you fell in love with in that cute boutique. Only better, because you made it yourself. Supplies- Scissors
- Glue sticks
- Cotton piping
- Hot glue gun
- Bucket for the mold
Instructions
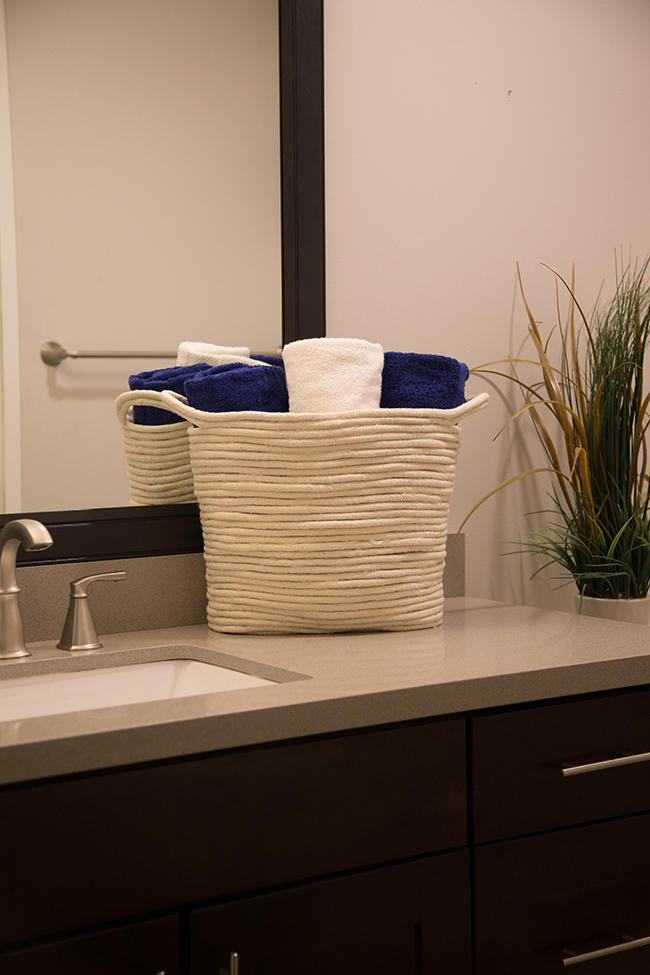
- Flip the bucket upside down. Then, apply a thin layer of glue to a 3-inch section of the piping and begin to wind more piping around it. Use the bottom of the bucket as a guide. Coil and glue the rope every few inches, until the base of your basket is a little bigger than the bottom of the bucket. (Note: Make sure you’re gluing the piping to other sections of piping, not to the bucket!)
- Turn the bucket over. Continue to wrap and glue the piping until the basket is two rows short of the top of the bucket.
- Cut the rope and glue down the ends for handles.
- Remove the bucket carefully. If it sticks to the piping, try sliding something thin and sturdy, such as a butter knife, inside to separate the rope basket from the bucket.
- Fill your basket (and brag about how you made it yourself)!
Hanging rope planter
Low on space but big on greenery? This project is a game-changer. Supplies- Drill
- 3/8-inch drill bit
- 4-inch circular protractor
- Tape measure or ruler
- Jigsaw
- Pencil
- Scissors
- Masking tape
- 4 plants
- Plant wire
- Extra-strong glue, such as Super Glue
- 4 boards, each measuring 7 1/4 inches by 7 1/4 inches by 3/4 inches
- 4 coffee filters
- 4-inch metal ring
- Fine grit sandpaper
- 4 terra-cotta pots, each 4 inches in diameter
- 1 terra-cotta saucer
- 4 strands of 3/8-inch jute or manilla rope, each 8 feet long
- Mark the center point on three pieces of wood. From that point, use the protractor to draw a circle.
- Mark the corners on all four pieces of wood to create a drilling point that’s 3/4 inch from each edge. Drill a hole in each corner and one in the center point.
- Using the jigsaw, cut a path from the center hole to the edge of the circle. Follow the curve of the circle to carve it out. Repeat on two other boards.
- Sand the boards to remove any splinters.
- Wrap tape around the ends of the rope to keep it from fraying.
- Knot the bottom of each rope.
- Thread the ropes through the corner holes of the plank of wood that doesn’t have a center hole. This will be the bottom board.
- Now it’s time to make a second knot in the rope. Measure 12 inches from the plank of wood and tie a knot. Repeat this step for the other three pieces of rope.
- Thread the ropes through the drilled holes in another board and slide the wood down until it rests on the knots.
- Repeat steps 8 and 9 with the remaining pieces of wood.
- Gather the four loose strands of rope at the top, push them through the metal ring and fold them over. Wrap plant wire around the ring to hold the rope together.
- Glue a saucer to the bottom plank of wood. This will catch any falling water droplets. Now, hang your planter!
- Pot your plants and pour them a nice cold drink. And maybe have one yourself, too.
4 Things to Do Before Gutting a Home By Joe Szabo, Scottsdale Real Estate Team
By Joe Szabo, Scottsdale Real Estate Team Do you have a bit of a fixer-upper on your hands? Or maybe you’re just ready for a major change? Remodeling your home can be a lot of work, but the results, when done well, are well worth it. Before you get too excited and start tearing down walls and ripping up the floors, read through this guide to keep yourself on track.Check the space allocation
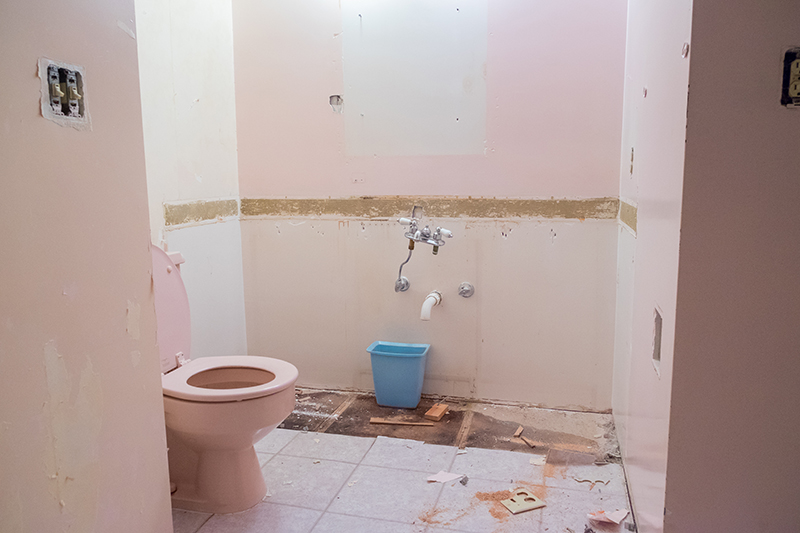
Having enough space, especially in bathrooms and kitchens, can make or break a home. You can install gorgeous flooring, countertops and fixtures, but if your knees touch the wall or the bathtub when you’re sitting on the toilet, the amenities won’t make up for it. And if you forget to take large kitchen appliances into consideration, you can end up with a cramped space that only looked great on paper. Before you gut the house and start moving walls, take the time to triple check your measurements. Draw out your space with accurate measurements of desired appliances included before you change a wall or buy a tub. Make sure there is enough room for doors to open and close with ease. Ideally, you should be able to open your cabinet door and your oven door at the same time. Remember — it’s easier and less expensive to make changes before you buy new appliances or knock down a wall.Inspect the structure and foundation
Before you start gutting a home, look for problems that may be hidden beneath the surface. You don’t want to spend a lot of money on new flooring, for example, only to have to rip it out to deal with structure or foundation problems. Put simply, fixing structural problems is hard, expensive, and requires knowledge and experience that the average new flipper or homeowner doesn’t have. Attempting to minimize costs via DIY efforts can lead to mistakes that make the process even more expensive and difficult. This step is particularly important if your home (whether it’s a new-to-you fixer-upper or a house you’ve owned for years) has recently gone through heavy rain or flooding, natural disasters, or pest problems.Shop around for professionals
Don’t wait until you need a professional ASAP before shopping around — you’ll quickly find yourself at the mercy of whoever is available with marginally good reviews. Before you start your remodel, do your due diligence and find professionals who fit your budget and project needs. You’ll thank yourself in the long run. It’s a good idea to find an electrician and plumber before you start your project. While you can probably learn how to handle small projects like installing an outlet, you’ll need help before your remodel is through. Unless you have a lot of experience, you shouldn’t tackle extensive electrical or plumbing fixes on your own. A trusted home inspector is also a must-have. Here’s a tip: Find an inspector who is used to houses similar to yours in age, design and location. They’ll be familiar with common problems others may miss. And don’t just read the report at the end. If possible, walk through the home with the inspector. You’ll learn more and have the opportunity to ask questions as they come up.Know what sells houses in your area
If you’re remodeling your house in order to sell it, invest in changes that will help sell the house and increase the sale price. Don’t waste your money on updates that don’t give you a good return on your investment. Do your research. Talk to real estate agents in the area or tour houses in your neighborhood that are for sale. Do buyers looking in the area prioritize large windows or large bathrooms? Do they buy based on roof condition or flooring? Once you identify the factors that help houses in the area sell, build your budget accordingly. This doesn’t mean you can cut corners. Unless a buyer is looking to flip a home, they’ll expect the whole house to be up to a certain standard. However, if you have to pick between hardwood floors and top-of-the-line kitchen equipment, it’s good to know which one will be more likely to lead to a profitable sale. Please note that this Scottsdale Real Estate Blog is for informational purposes and not intended to take the place of a licensed Scottsdale Real Estate Agent. The Szabo Group offers first class real estate services to clients in the Scottsdale Greater Phoenix Metropolitan Area in the buying and selling of Luxury homes in Arizona. Award winning Realtors and Re/MAX top producers and best real estate agent for Luxury Homes in Scottsdale, The Szabo group delivers experience, knowledge, dedication and proven results. Contact Joe Szabo at 480.688.2020, [email protected] or visit www.scottsdalerealestateteam.com to find out more about Scottsdale Homes for Sale and Estates for Sale in Scottsdale and to search the Scottsdale MLS for Scottsdale Home Listings.9 Listing Photo Do’s and Don’ts By Joe Szabo, Scottsdale Real Estate Team
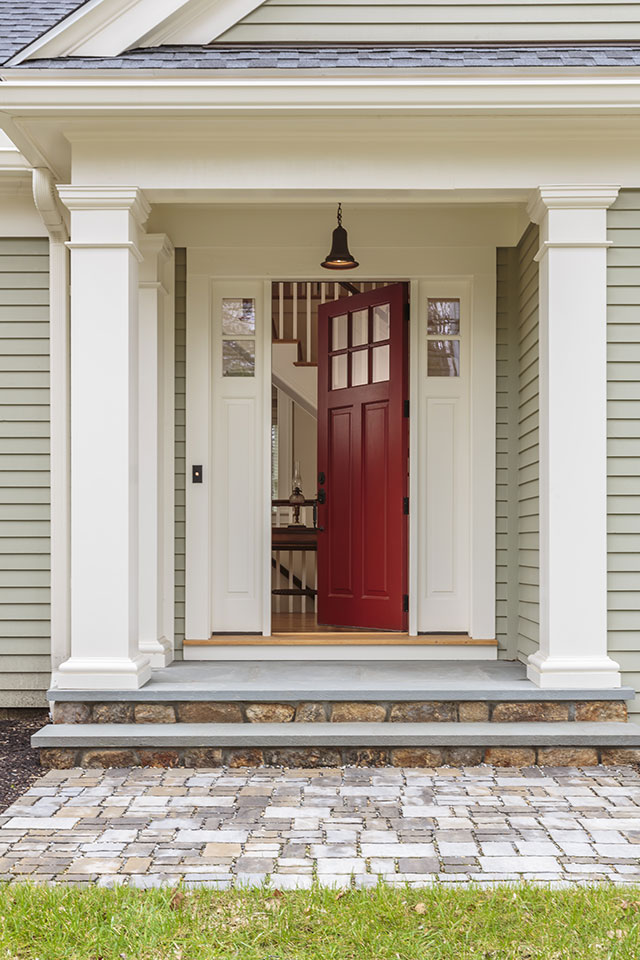
By Joe Szabo, Scottsdale Real Estate Team Your bags are packed, you’re ready to move and the last thing you want to do is follow your agent’s advice about putting time and money into your listing photos. But if you don’t, your photos could prevent the home from selling quickly. Consider these nine do’s and don’ts to help your listing attract the attention it deserves.1. Do: Take a shot from the curb.
Keep your home’s curb appeal top of mind. Buyers often decide in a matter of minutes (or seconds) whether they want to keep looking or move on to another listing. Make sure you get the whole house in the shot, and don’t let cars or other objects block your line of sight.Don’t: Create a landslide.
When taking a shot from the curb, be mindful of your camera’s angle. The roofline should be parallel with the photo’s frame to make it look level — not like there’s a landslide on the property.4. Do: Capture your home’s selling points.
You may think it’s best to skip the bathroom when taking listing photos, but if yours was recently updated, show it off! Bathrooms are among the first spaces to be upgraded in newly owned homes, and research shows that blue bathrooms sell for more than expected.Don’t: Capture yourself in the mirror.
While a vanity can be a selling point, you want buyers to picture themselves in the mirror — not you. Stay out of your listing photos by avoiding angles where you or your camera’s flash may be reflected.5. Do: Stage each room.
The goal is to put your home’s best foot forward. That means staging each roomto sell shoppers on the lifestyle your home offers. Create cozy vignettes in each photo so it’s easier for shoppers to envision themselves living there.Don’t: Stage a mess.
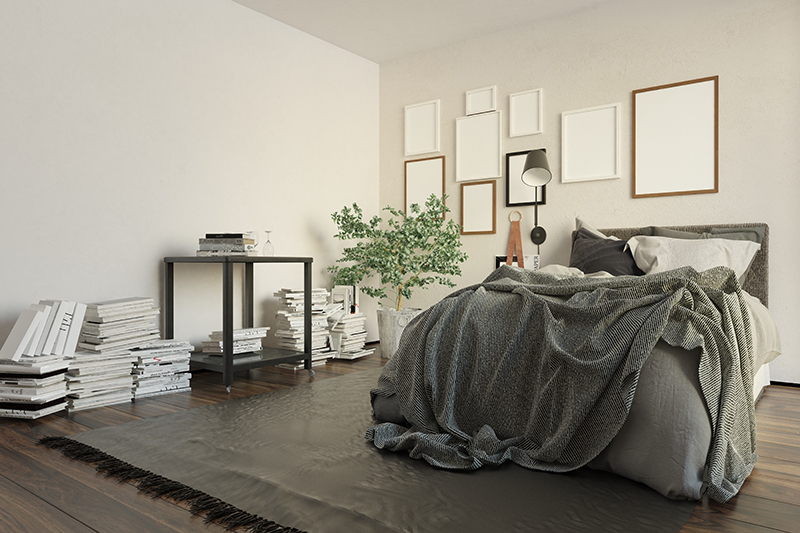
If there’s one absolute “don’t” for listing photos, it’s capturing a mess. Tidy up each room before taking any photos so your home looks its best.6. Do: Play up the season.
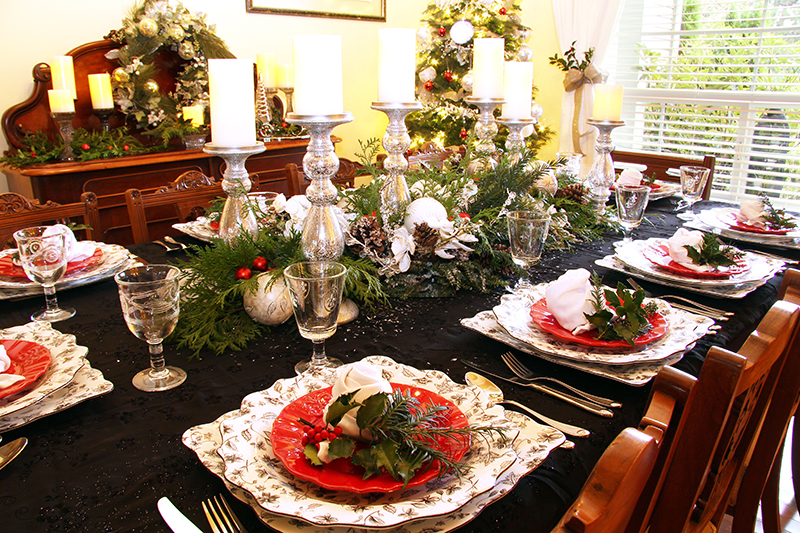
Even if your home has been on the market for a while, it will feel up-to-date if the photos reflect the season. If it’s summer, take a sunny photo of the backyard. If it’s winter, create a cozy feel with a fire and a warm blanket.Don’t: Play up your holiday decor.
Over-the-top holiday decor can be a turnoff, especially if buyers don’t celebrate that holiday. Instead, consider ways to decorate for the season as a whole and take photos of rooms without themed decor.7. Do: Show off the view.
If the view is one of your home’s selling points, you’ll definitely want to show it off. It’s best if you can capture it with a part of the house in the shot, like the deck or porch. That way, buyers can picture themselves there.Don’t: Show off your pets.
Focus on the parts of your home that will be there when a buyer moves in. Unfortunately, your pets don’t fall into that category, as cute as they are!8. Do: Show off architectural details.
Archways, beams and other architectural quirks may be hard to photograph, but they give your home character. Try to capture a few of the architectural details if you can.Don’t: Show off architectural blunders.
Every home has its blemishes, but that doesn’t mean you have to capture them all in the photos. The listing is the time to put your best foot forward — the open house and inspection are when the buyer can take note of the imperfections. You may also want to consider making a few small improvements, like updating the bathroom, before listing your home.9. Do: Take a night shot with the lights on.
While it’s easy to assume daytime shots are ideal, a nighttime exterior shot can create the right amount of contrast to make your photos stand out. The key is to leave your home’s interior and exterior lights on while you take the photo.Don’t: Capture a dark room.
When it comes to interior photos, you want all the light you can get. Use lamps and daytime window light to make your photos as bright as possible while still looking natural. Please note that this Scottsdale Real Estate Blog is for informational purposes and not intended to take the place of a licensed Scottsdale Real Estate Agent. The Szabo Group offers first class real estate services to clients in the Scottsdale Greater Phoenix Metropolitan Area in the buying and selling of Luxury homes in Arizona. Award winning Realtors and Re/MAX top producers and best real estate agent for Luxury Homes in Scottsdale, The Szabo group delivers experience, knowledge, dedication and proven results. Contact Joe Szabo at 480.688.2020, [email protected] or visit www.scottsdalerealestateteam.com to find out more about Scottsdale Homes for Sale and Estates for Sale in Scottsdale and to search the Scottsdale MLS for Scottsdale Home Listings.How to Make a Competitive Offer Against All-Cash Home Buyers By Joe Szabo, Scottsdale Real Estate Team
By Joe Szabo, Scottsdale Real Estate Team Buyers making a cash offer on a house are active in many markets, and they can strike fear in new buyers who are bidding on a home. Cash home buyers can perform and close quickly and provide sellers with a sense of comfort. But does this mean a solid buyer putting down 20 percent or more shouldn’t attempt to compete with cash home buyers? Absolutely not.What if you can’t make a cash offer on a house?
The truth is, a buyer getting a mortgage can still compete against cash home buyers and win. These are the questions that can make the difference:- Do you have a 20-percent down payment?
- Are you well employed?
- Do you have cash reserves in addition to your down payment?
- Do you have very little debt?
- Do you have good credit?
How can you compete against cash home buyers?
- Be up front about your finances. Make your competitive offer as strong as cash by providing the seller the confidence they need to accept your offer. In addition to a pre-approval letter from your lender, be open to allowing your agent or lender to provide financial information with your offer. Tell them what you make, and how much money you have in the bank. Show bank statements and even a copy of your credit report. Overload the seller to show them that you’re as solid as the cash buyer.
- Ask your lender to get a head start on the mortgage. See if your mortgage professional can move the process along sooner. Send the lender a copy of the preliminary title report, if available. If you’re buying a condo, find out if a condo questionnaire is available and give it to your lender. If you take any of these steps, let the seller know. Of course, if you have not already, provide the necessary financial documentation to your lender right away.
- Shorten the loan and appraisal contingencies. Ask your lender how quickly they can send an appraiser to the property, and how long the loan would take to turn around. In some parts of the country, loans are being approved in less than 14 days — sometimes even 10.
- Pre-order an appraisal. This may not be as easy with a bigger bank. But smaller banks, direct lenders or mortgage brokers can line up the appraisal in advance. At the time your offer is written, tell the seller the appraisal has already been ordered. If you can get the appraiser out within 24-48 hours of coming to terms with the seller, it’s half the battle.
- Inspect quickly. Along with the quick appraisal and loan contingencies, get your inspector in and out. Shelling out a few hundred dollars and getting the inspections done within days of having your offer accepted shows the seller you mean business. It also gives them comfort that they’ll get over the biggest hurdle quickly.
- Overpay. Cash buyers nearly always expect a discount from the seller simply because they’re offering cash and are a sure thing. As a result, the cash buyer will often make a lower offer. To increase your chances, top the cash offer, even if means paying a little more than you think the home is worth. If a seller is faced with a few thousand dollars’ difference, the seller probably wouldn’t risk it. But what if your offer is five percent higher than the cash buyer’s? The seller, perhaps wanting the best of both worlds, may ask the cash buyer to raise his or her offer. Some cash buyers will offer more, but not always enough to match. If you plan to live in the house for many years and it’s the home of your dreams, paying a little more to get the deal might only translate into $20 per month over the course of a long-term mortgage.
- Make yourself known to the seller. Some buyers write “love letters” to sellers, hoping to appeal to their personal side. Does this work? Sometimes! If you’re competing with a cash buyer, particularly an investor who plans to rent the home out, it can’t hurt to get a little personal with your real estate offer letter. The seller almost always wants to know more about the potential buyer. Ask your agent to write a cover letter and an introduction. Let the seller know who you are, why you like the home and what your intentions are.