
 By Joe Szabo, Scottsdale Real Estate Team
Like most aspects of owning or purchasing a house, measuring the square footage of a home is complicated. There’s no established standard for measuring a residential property, and everyone seems to measure square footage differently. But if you get it wrong, it can affect your home’s value.
There’s no need to be nervous about calculating your home’s square footage, however. Let’s look at how easy it actually is to measure a home’s square footage accurately.
By Joe Szabo, Scottsdale Real Estate Team
Like most aspects of owning or purchasing a house, measuring the square footage of a home is complicated. There’s no established standard for measuring a residential property, and everyone seems to measure square footage differently. But if you get it wrong, it can affect your home’s value.
There’s no need to be nervous about calculating your home’s square footage, however. Let’s look at how easy it actually is to measure a home’s square footage accurately.
Square footage of a house (GLA)
For most people, the gross floor area or gross living area (GLA) of a home is what they’re thinking when they hear “square footage.” Here’s how to calculate your square footage:-
-
Sketch a floor plan of the home’s interior.
Draw each floor separately, and don’t include unfinished areas, patios, porches and exterior staircases. -
Break down the house into measurable rectangles.
The more rectangles the better. This takes the guesswork out of rooms or hallways that don’t have perfectly flush walls. -
Measure the length and width of each rectangle.
Round your measurements off to the nearest 0.5 linear foot. -
Calculate the area of each section.
Multiply the rectangle’s length by its width to get the area in square feet. Write this number down in the corresponding space on your sketch. -
Add up the total area.
Sum up the square feet of each rectangle to measure the total square footage of the house. Round the total off to the nearest square foot.
-
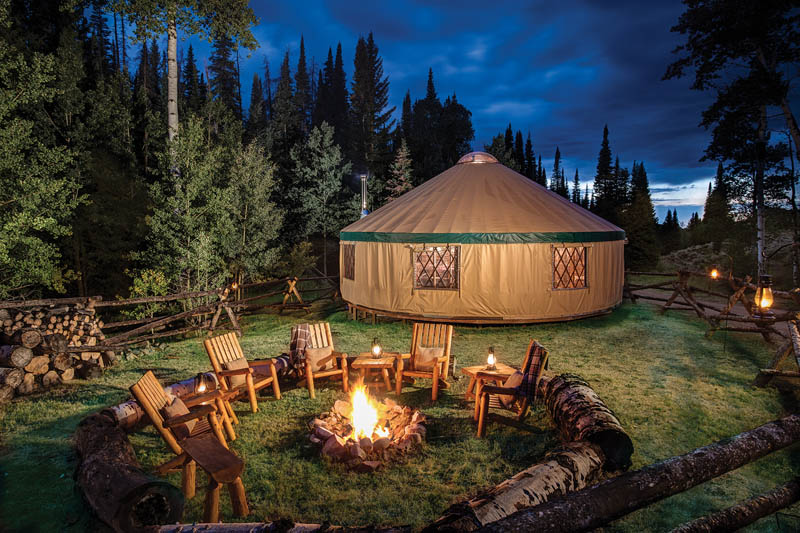
 Through it all, Tompkins and Colley have tried to keep things in perspective.
“Every time I think could I really do that — could I really live in a place where all you had was an outhouse — and I would step back and say well of course you can. People have been doing that for centuries,” Tompkins says.
And living off grid isn’t what it used to be. With a cell tower across the valley, Tompkins and Colley have cellphone service. They also have propane, which they use to power their lights on cloudy days.
“It’s not near as primitive as it may sound,” Tompkins says. He and Colley are cooking better meals than they did in Portland, and while they don’t watch TV, their social life is busier than ever.
If you’re considering life off the grid, you may be pleasantly surprised.
“Be fearless about your stupidity,” Colley says. “Ignorance is not a game-stopper.”
Through it all, Tompkins and Colley have tried to keep things in perspective.
“Every time I think could I really do that — could I really live in a place where all you had was an outhouse — and I would step back and say well of course you can. People have been doing that for centuries,” Tompkins says.
And living off grid isn’t what it used to be. With a cell tower across the valley, Tompkins and Colley have cellphone service. They also have propane, which they use to power their lights on cloudy days.
“It’s not near as primitive as it may sound,” Tompkins says. He and Colley are cooking better meals than they did in Portland, and while they don’t watch TV, their social life is busier than ever.
If you’re considering life off the grid, you may be pleasantly surprised.
“Be fearless about your stupidity,” Colley says. “Ignorance is not a game-stopper.”
 Repeat steps 3 and 4 with the remaining strands.
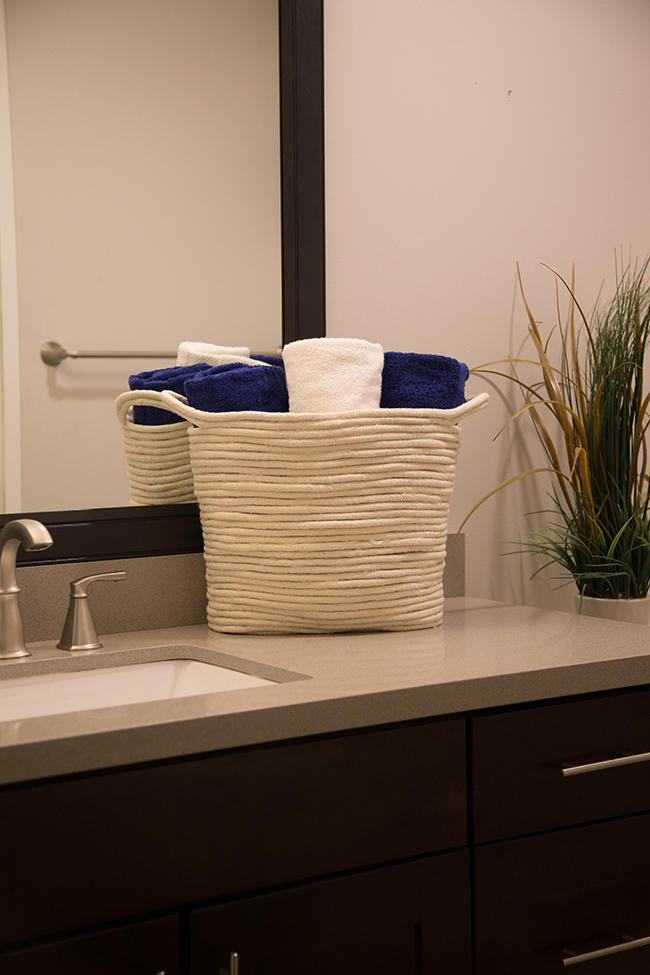
 Sand the boards to remove any splinters.
 Keep your home’s
  When taking a shot from the curb, be mindful of your camera’s angle. The roofline should be parallel with the photo’s frame to make it look level — not like there’s a landslide on the property.
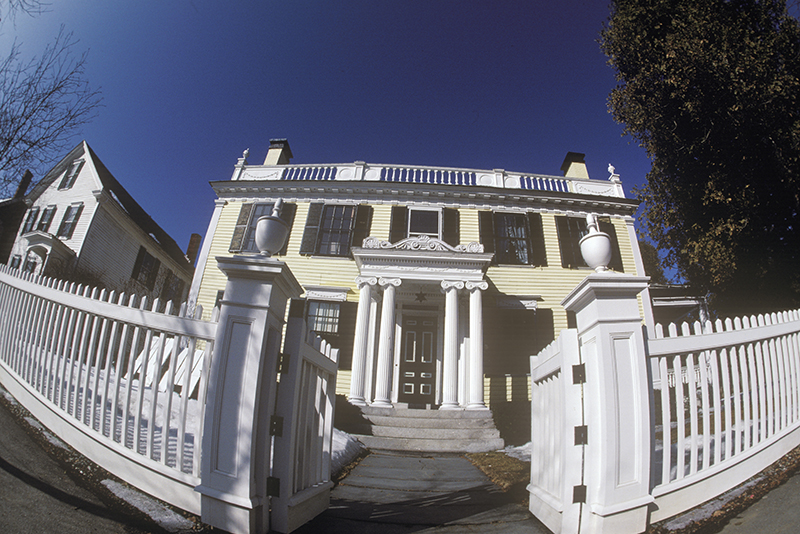
 An attractive front door and entryway go a long way in setting the tone for the rest of your home. Leaving the door open in one of your photos can also send a welcoming message.
 Remove any threatening signs or barriers on the property before taking photos. The goal is to create a feeling of warmth with your listing photos — not scare onlookers away.
 Taking a photo from above is a great way to show off a large property or a waterfront location. Crop the photo close enough so the home is visible without having to draw an arrow or a box around it.
 Some folks use a fisheye lens to make smaller spaces appear larger. However, it often has the opposite effect, making the space feel smaller and distorted.
As a general rule of thumb, stick with a traditional lens for listing photos, and
Some folks use a fisheye lens to make smaller spaces appear larger. However, it often has the opposite effect, making the space feel smaller and distorted.
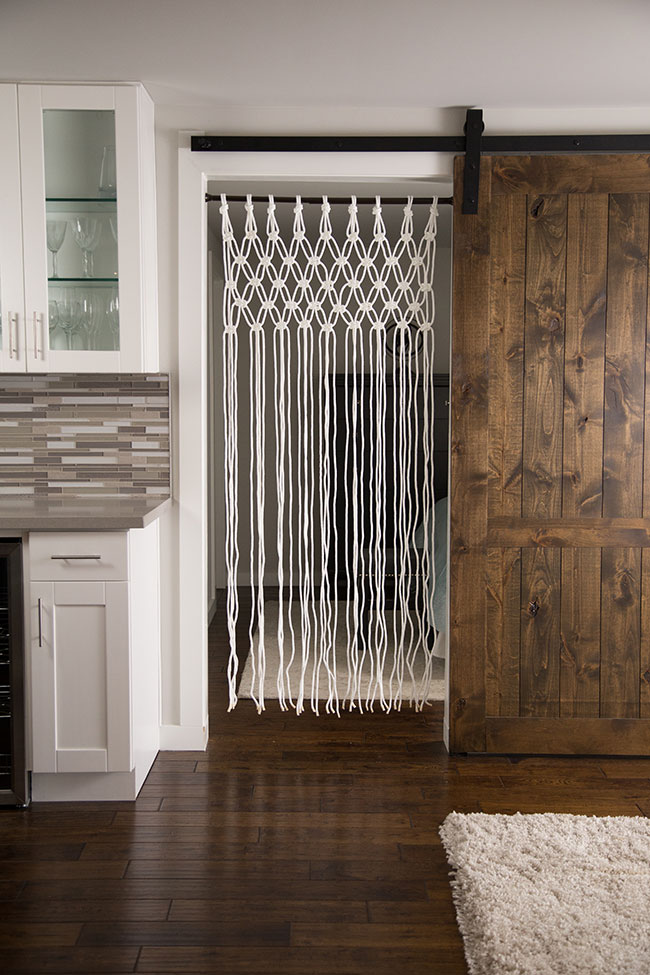
As a general rule of thumb, stick with a traditional lens for listing photos, and 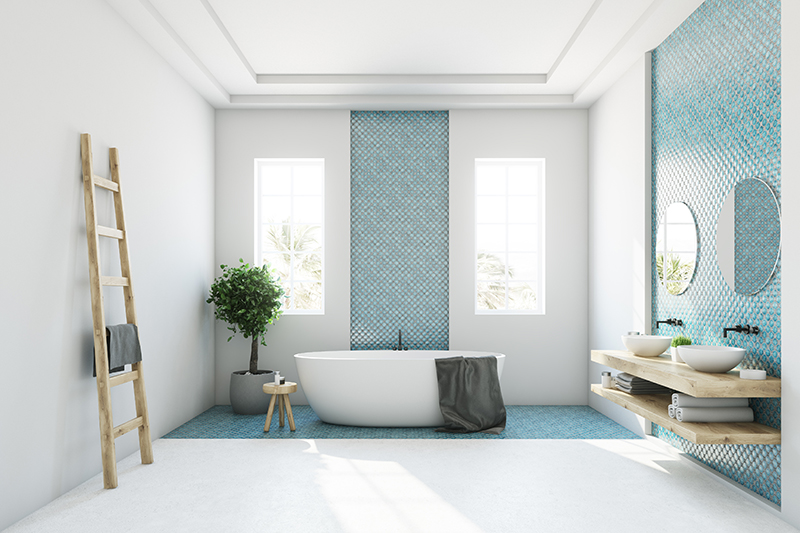 You may think it’s best to skip the bathroom when taking listing photos, but if yours was recently updated, show it off! Bathrooms are among the first spaces to be upgraded in newly owned homes, and research shows that
 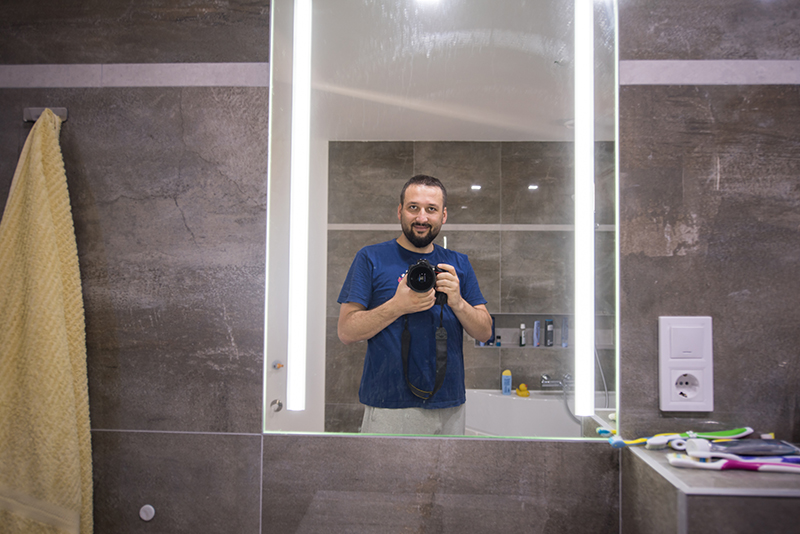 While a vanity can be a selling point, you want buyers to picture themselves in the mirror — not you. Stay out of your listing photos by avoiding angles where you or your camera’s flash may be reflected.
 The goal is to put your home’s best foot forward. That means
 If there’s one absolute “don’t” for listing photos, it’s capturing a mess. Tidy up each room before taking any photos so your home looks its best.
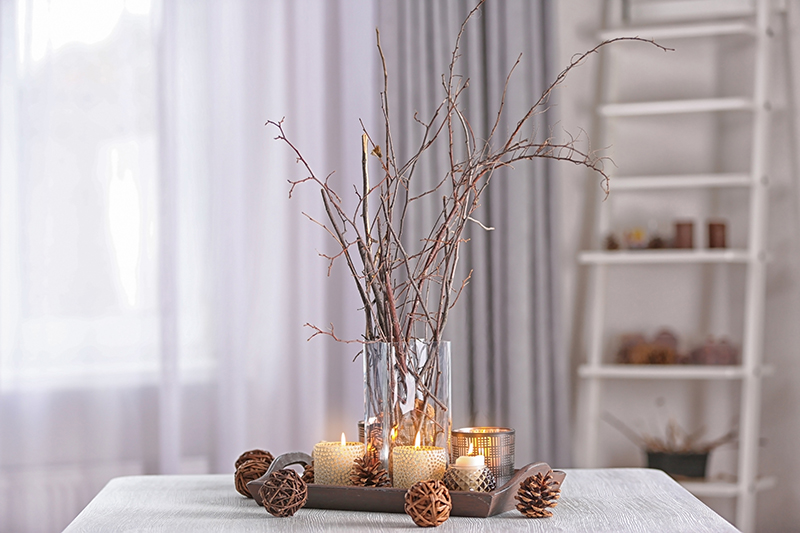 Even if your home has been on the market for a while, it will feel up-to-date if the photos reflect the season. If it’s summer, take a sunny photo of the backyard. If it’s winter, create a cozy feel with a fire and a warm blanket.
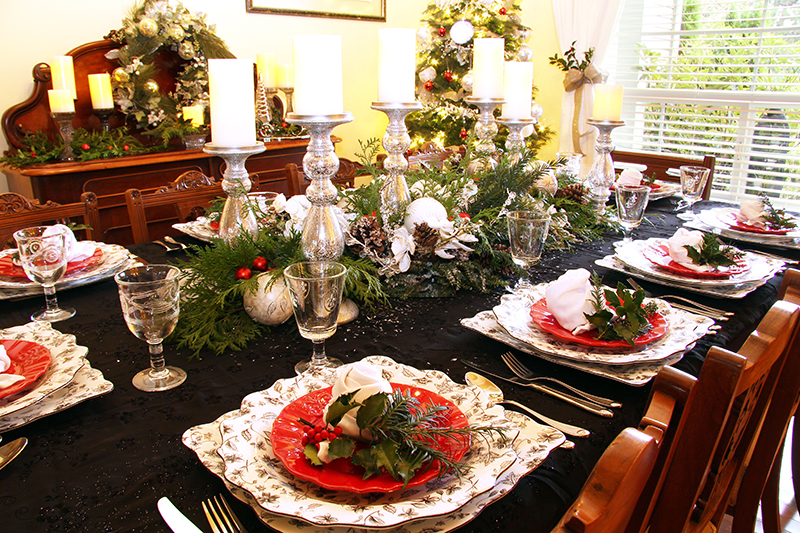 Over-the-top holiday decor can be a turnoff, especially if buyers don’t celebrate that holiday. Instead, consider ways to decorate for the season as a whole and take photos of rooms without themed decor.
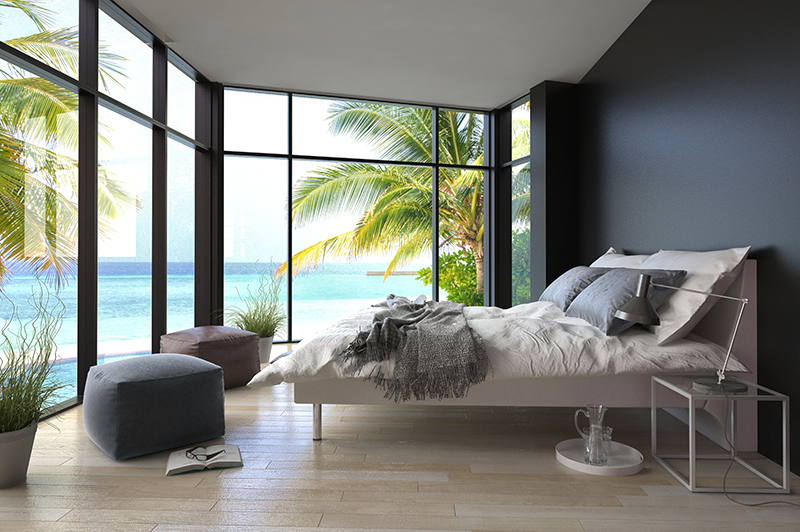 If the view is one of your home’s selling points, you’ll definitely want to show it off. It’s best if you can capture it with a part of the house in the shot, like the deck or porch. That way, buyers can picture themselves there.
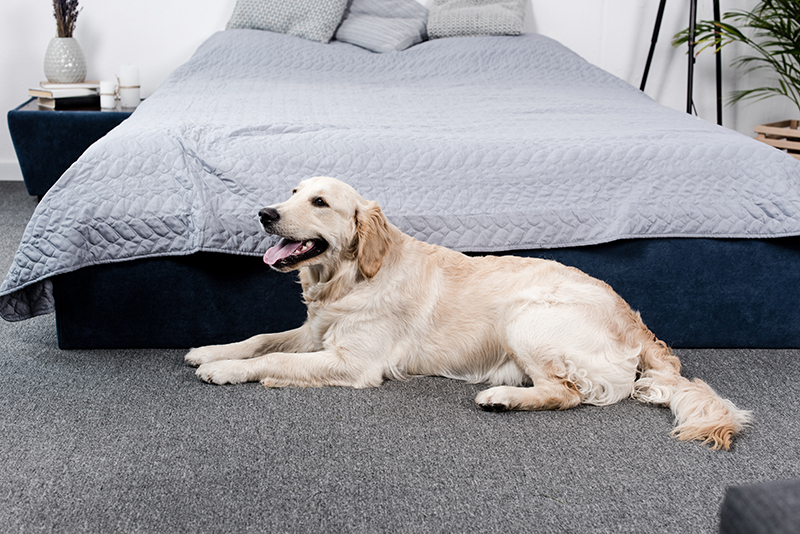 Focus on the parts of your home that will be there when a buyer moves in. Unfortunately, your pets don’t fall into that category, as cute as they are!
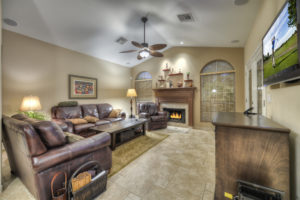
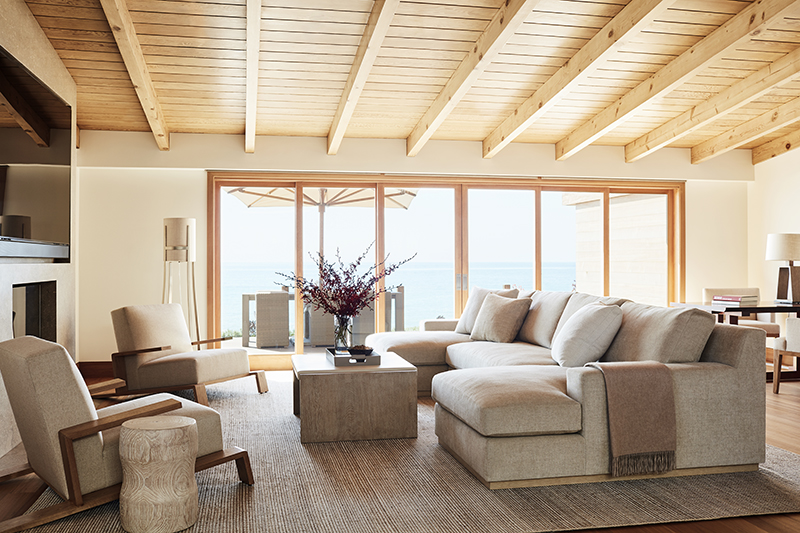 Archways, beams and other architectural quirks may be hard to photograph, but they give your home character. Try to capture a few of the architectural details if you can.
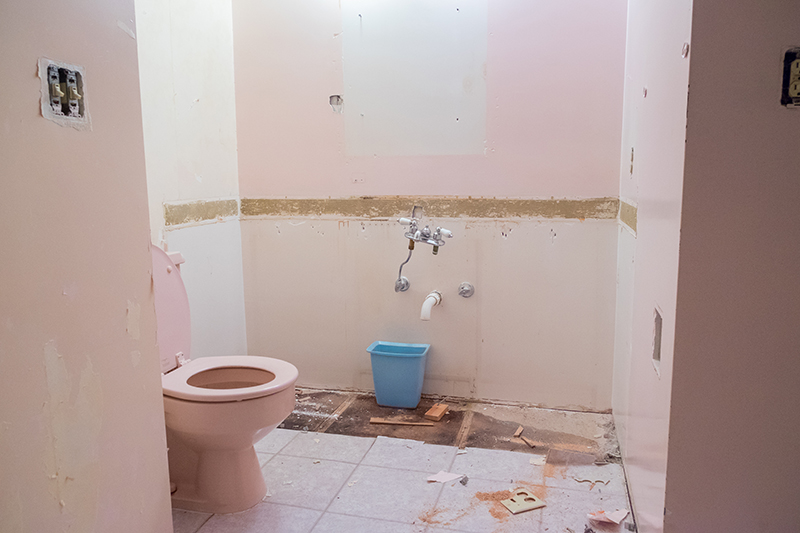 Every home has its blemishes, but that doesn’t mean you have to capture them all in the photos. The listing is the time to put your best foot forward — the open house and inspection are when the buyer can take note of the imperfections.
You may also want to consider making a few small improvements, like
Every home has its blemishes, but that doesn’t mean you have to capture them all in the photos. The listing is the time to put your best foot forward — the open house and inspection are when the buyer can take note of the imperfections.
You may also want to consider making a few small improvements, like  While it’s easy to assume daytime shots are ideal, a nighttime exterior shot can create the right amount of contrast to make your photos stand out. The key is to leave your home’s interior and exterior lights on while you take the photo.
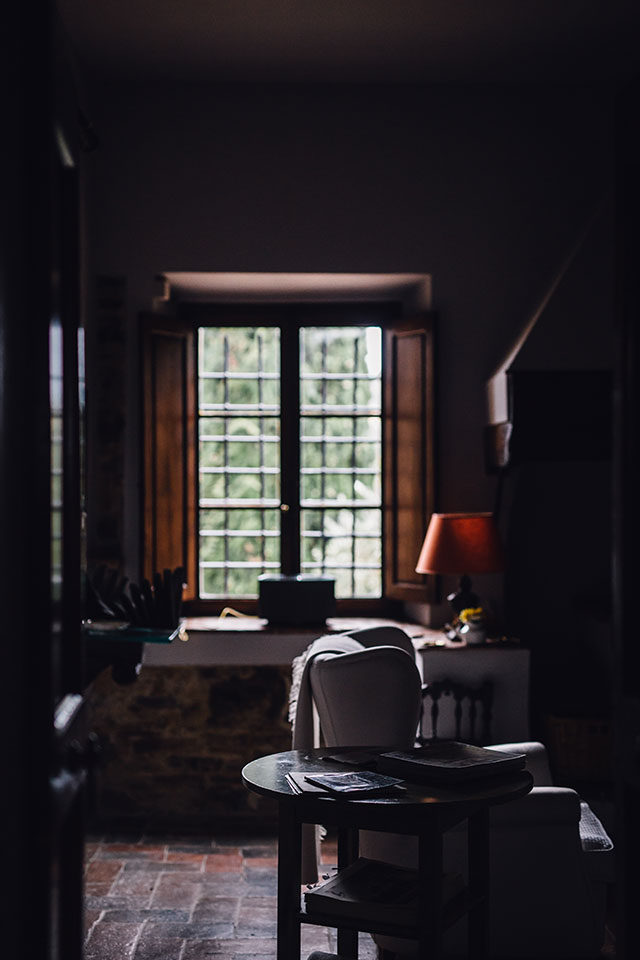 When it comes to interior photos, you want all the light you can get. Use lamps and daytime window light to make your photos as bright as possible while still looking natural.
